Preparing Images by Adjustment Layers at the example of Selective Color
There are two ways of adjusting the color in images. You can adjust the color
on each layer by using the options under Image> Adjustments>...
This way, the change will affect the image directly. And you can make different
changes to each layer like lowering the Hue/Saturation, using Curves
or Color Balance.
The big drawback of this way of working, is that you cannot redo it without also erasing everything you did from your History since you executed that command.
Which is one reason why I prefer Adjusment Layers. Adjusment Layers have many advantages.
a) They do not effect the image directly
b) They allow the use of Layer Masks
c) They allow the use of Layermodes/ Blending Options.
Very important here is, that the actual original image never changes.
Let's start with a simple excersise. Usually when people start using Color adjusment or even layer modes, the use tools like Curves, Color Balance, Desaturate. Those tools are exciting and helpful, however lately, I've come to love the Adjustment Layer Selective Color. Selective Color allowes the user to change every single color seperately. Like when you want to pick the color red, it allows you to affect the dues of green, red, yellow and black in saod color. Some goes for every other color. It is very exciting to play with that tool.
Anyways, there are three ways to use Selective Color. The first and simplest option I already explained above. Image> Adjustments> Selective Color...
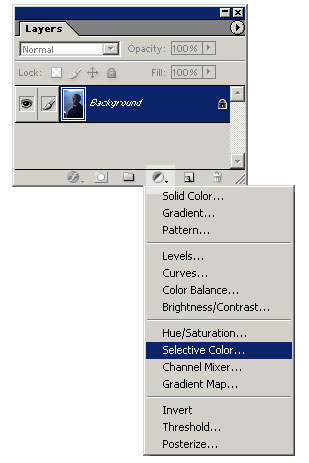
Then there are the options that use Adjustment Layers. You either choose Layer> New Adjusment Layer> Selective Color... or you use the layer palette. On the bottom, press the button for Adjustment
Layer and choose Selective Color from the drop-down menu as shown
below. As you can see, you can choose other Adjustment Layer from that
menu.
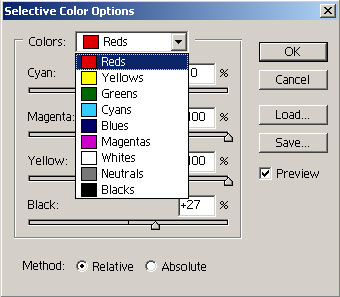
A new palette will pop up showing the color red and the color changing bars. Under the red drop-down you can find all the colors you can change.
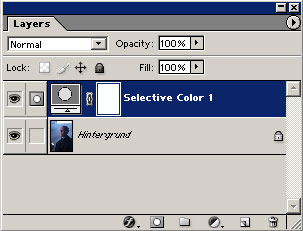
The Adjustment Layer now appears as extra layer in the layer palette.
If you double-click on the Selective Color symbol (![]() ),
you can reach the above Selective Color Options Palette again.
),
you can reach the above Selective Color Options Palette again.
Examples
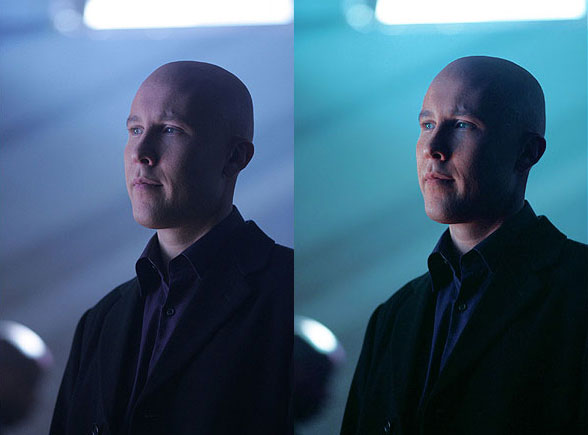
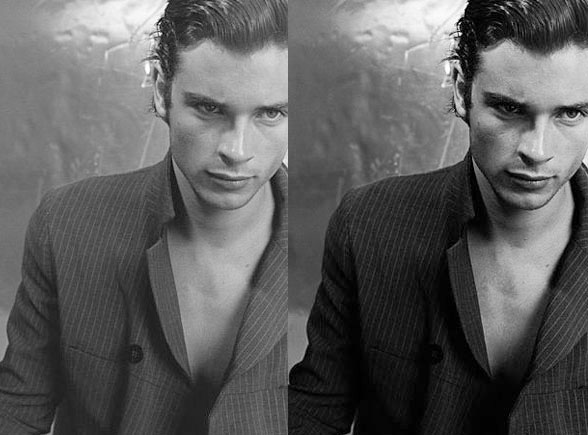
Selective Color can make the image more interesting and alive.
Having said layer in the layer palette means that everything you can do in a layer palette with a normal layer you can do with an Adjustment Layer as well (opacity, flow, blending, ect).
In this example, the layer modes have been changed from Normal
| Multiply: | 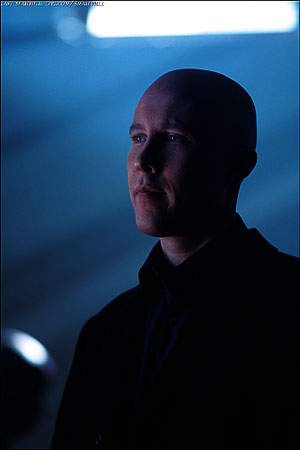 |
| Lighten: | 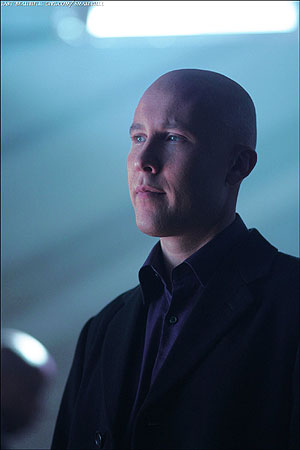 |
| Soft Light: | 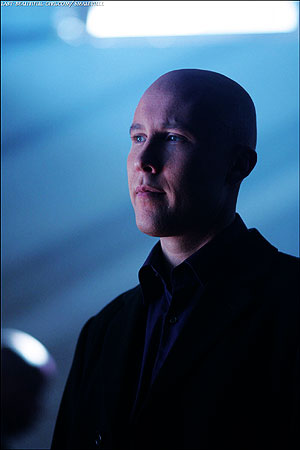 |
| Hard Light: | 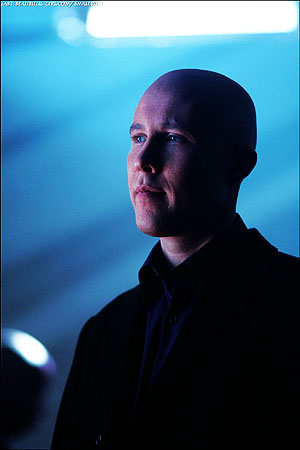 |
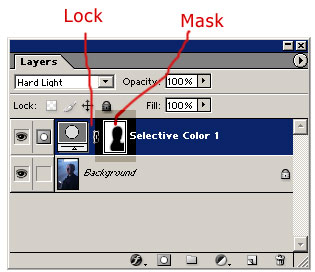
When using an Adjustment Layer, Photoshop automatically creates a layer mask on said layer, which means you can mask parts of said layer, thus, making them invisible.
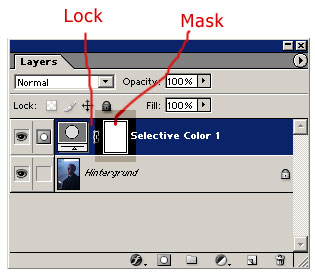
You need to have the mask activated to work on it. The lock ensures that you cannot move the mask. If you unlock it, you can move it and thus hiding a different part of the Adjustment Layer.
To hide and show masks, use the brush-tool. The colors are to be used like this: White=visible, black= invisible, grey=opacity.
Example:
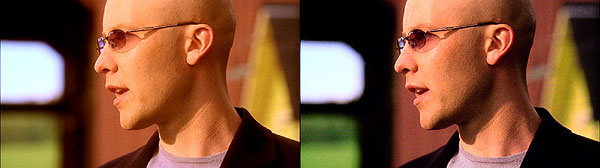
 The Black region on the mask is now hidden:
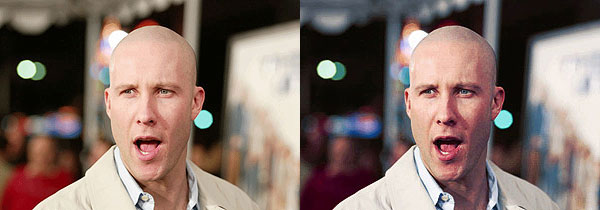
| Before: | |
| After: | 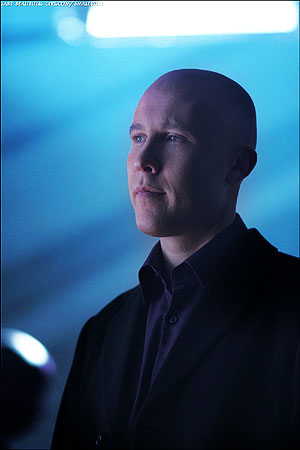 |
The procedures of blending, masking and so on, work with every Adjustment Layer. Note that gradients, patterns, hue/saturation can be used this way as well. You can have as many Adjustment Layers as you like.
In the next example I duplicated the Adjustment Layer in the layer palette and masked more of it. Like the first layer, it is set to soft light. I added a Curves Adjustment Layer and made the image brighter that way. Then I used the Color Balance Adjustment Layer, another favorite of mine and strengthened the Red in the image and added a Gradient Map Adjustment Layer using a black to white Gradient and setting it to Soft Light also.
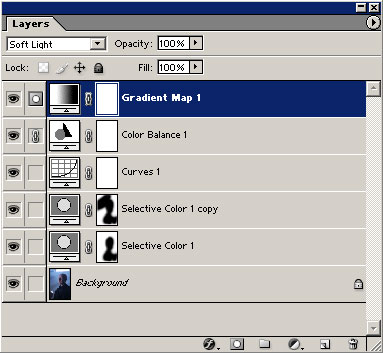
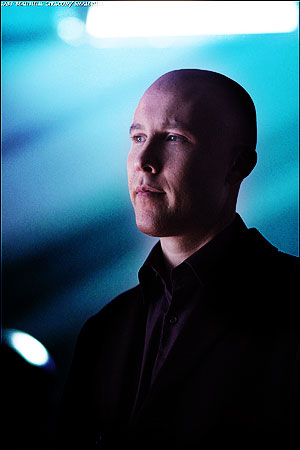
Result:
Roundup:
Adjustment Layers exsist for Solid Color, Gradient, Pattern, Levels, Curves, Color Balance, Brightness/Contrast, Hue/Saturation, Selective color, Channel Mixer, Gradient Map, Invert, Threshold and Posterize.
- The original image is not affected.
- They have masks.
- They are layers in the layer palette.